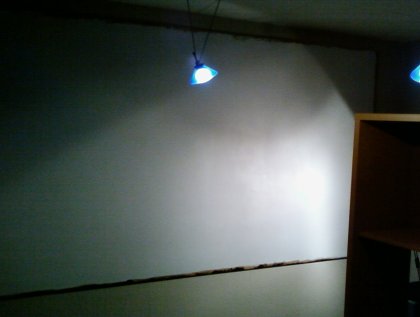
I have so far projected the picture of my Sanyo PLV-Z4 projector onto the wall. Clearly this is not optimal, so I have been looking for a screen for a while. I decided to built it DIY-style this weekend. It’s a lot cheaper than buying one from new and can give excellent results. Plus there is nothing to beat the feeling of having created something yourself.
For the project the following materials was used:
- 228x131cm 16mm MDF board (screen size calculator).
- 40mm wide wood frame
- 1 liter of very low gloss paint. The color code used was S-1502B (I think it’s a european standard).
- 100 ml very low gloss black paint.
The wood was bought at Bauhaus and the paint at the local paint shop.
After we carried the board up the stairs it was quite clear that it was perhaps a little too big for the wall. But after some rearranging we got it to fit 🙂
Here’s a picture of the screen being painted.

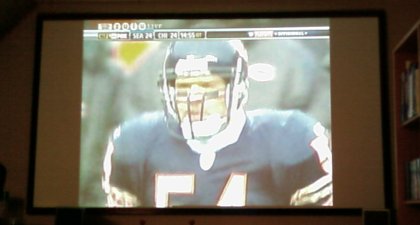
I have been super happy with how it turned out. First a picture of a TV source (4:3) projected on the screen.

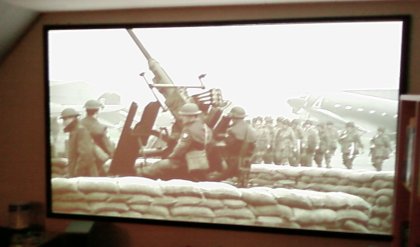
Finally a picture of the result with a 16:9 source.

Sadly the camera on my phone doesn’t do the final result justice. More pictures with real camera here on flickr.
2 replies on “Building a 100″ projector screen”
Good work, your articles are very interesting, i am glad that i googled your blog
[…] projector screen Image by arj03 100" projector screen. Description of how to build one here: people.iola.dk/arj/2007/01/15/building-a-100-projector-sc… […]